Selenium Cloudflare Page Retrieval Issues and the Cloudbypass API Access Layer: Alert Review for Daily Workflows
Bottom line: Direct fetch, Cloudbypass API, and browser automation solve different retrieval problems. The right choice ...

Handle top-tier WAF challenges: Pass Cloudflare JS Challenge (browser check), Turnstile CAPTCHA, and advanced flows like Imperva/Incapsula to keep requests reaching the target.
Massive rotating proxy network: Built-in HTTP/SOCKS5 proxy IP support for global rotating residential proxies and datacenter proxies. Also works with your custom third-party proxies for private routing.
Browser fingerprint simulation: Tune TLS fingerprinting (JA3), Canvas fingerprinting, and device signals. Configure User-Agent, Referer, and headless browser behavior to match real users.
Fast integration for any stack: Native SDK support for Python, Go, Node.js, and Java, plus direct cURL calls. Built for scraping teams and reverse engineering workflows.
Protocol-level performance boost: Skip heavy headless browsers and fetch source via optimized HTTP API endpoint requests. Supports high-throughput async processing and returns structured HTML/JSON to cut bandwidth and compute cost.
Start Free Trial API DOCs Code generator
Visit https://opensea.io/path/to/target?a=4, the following is an example of Curl request:
# Use curl to request https://opensea.io/category/memberships
# curl -X GET "https://opensea.io/category/memberships"

#Using Cloudbypass API request example
# Use Cloudbyapss API to request
curl -X GET "https://api.cloudbypass.com/category/memberships" ^
-H "x-cb-apikey: YOUR_API_KEY" ^
-H "x-cb-host: opensea.io" -k

# Use CloudbypassProxy request example
# Use Cloudbyapss Proxy to request
curl -X GET "https://opensea.io/category/memberships" -x "http://YOUR_API_KEY:@proxy.cloudbypass.com:1087" -k
Detailed documentation
Visit https://opensea.io/path/to/target?a=4, the following is an example of Python request:
// Use python to request https://opensea.io/category/memberships
import requests

"""
# Code example before modification
# original code
url = "https://opensea.io/category/memberships"
response = requests.request("GET", url)
print(response.text)
print(response.status_code,response.reason)
# (403, 'Forbidden')
"""

#Using Cloudbypass API request example
# Use Cloudbyapss API to request
url = "https://api.cloudbypass.com/category/memberships"

headers = {
     'x-cb-apikey': 'YOUR_API_KEY',
     'x-cb-host': 'opensea.io',
}

response = requests.request("GET", url, headers=headers)

print(response.text)
Detailed documentation
Access https://opensea.io/category/memberships, request example:
// # Go Modules
// require github.com/go-resty/resty/v2 v2.7.0
package main

import (
    "fmt"
    "github.com/go-resty/resty/v2"
)

func main() {
    client := resty.New()

    client.Header.Add("X-Cb-Apikey", "/* APIKEY */")
    client.Header.Add("X-Cb-Host", "opensea.io")

 resp, err := client.R().Get("https://api.cloudbypass.com/category/memberships")

    if err != nil {
        fmt.Println(err)
        return
    }

    fmt.Println(resp.StatusCode(), resp.Header().Get("X-Cb-Status"))
    fmt.Println(resp.String())
}
Detailed documentation
Visit https://opensea.io/path/to/target?a=4, the following is an example Nodejs request:
// Use javascript to request https://opensea.io/category/memberships
const axios = require('axios');

/*
// Code example before modification
//original code
const url = "https://opensea.io/category/memberships";
axios.get(url, {})
   .then(response => console.log(response.data))
   .catch(error => console.error(error));
*/

// Example of request using Cloudbypass API
// Use Cloudbyapss API to request
const url = "https://api.cloudbypass.com/path/to/target?a=4";
const headers = {
   'x-cb-apikey': 'YOUR_API_KEY',
   'x-cb-host': 'www.example.com',
};

axios.get(url, {}, {headers: headers})
   .then(response => console.log(response.data))
   .catch(error => console.error(error));

# Use javascript to request https://opensea.io/category/memberships
const axios = require('axios');

//Request example using CloudbypassProxy
// Use Cloudbyapss Proxy to request
const url = "https://opensea.io/category/memberships";
const config = {
     proxy: {
         host: 'proxy.cloudbypass.com',
         port: 1087,
         auth: {
             username: 'YOUR_API_KEY',
             password: ''
             // Use a custom proxy
             // password: 'proxy=http:CUSTOM_PROXY:8080'
         }
     }
};

axios.get(url, config)
   .then(response => console.log(response.data))
   .catch(error => console.error(error));
Detailed documentation
Visit https://opensea.io/path/to/target?a=4, the following is a Java request example:
// Use java to request https://opensea.io/category/memberships
import java.net.URI;
import java.net.http.HttpClient;
import java.net.http.HttpRequest;
import java.net.http.HttpResponse;

public class Main {
     public static void main(String[] args) throws Exception {
         /*
             // Code example before modification
             //original code
             String url = "https://opensea.io/category/memberships";
             HttpClient client = HttpClient.newHttpClient();
             HttpRequest request = HttpRequest.newBuilder()
                             .uri(URI.create(url))
                             .GET(HttpRequest.BodyPublishers.noBody())
                             .build();

             HttpResponse response = client.send(request, HttpResponse.BodyHandlers.ofString());
             System.out.println(response.body());
         */

         // Example of request using Cloudbypass API
         // Use Cloudbyapss API to request
         String url = "https://api.cloudbypass.com/category/memberships";
         HttpClient client = HttpClient.newHttpClient();
         HttpRequest request = HttpRequest.newBuilder()
                 .uri(URI.create(url))
                 .header("x-cb-apikey", "YOUR_API_KEY")
                 .header("x-cb-host", "opensea.io")
                 .GET(HttpRequest.BodyPublishers.noBody())
                 .build();

         //Request example using CloudbypassProxy
         // Use Cloudbyapss Proxy to request
         String url = "https://opensea.io/category/memberships";
         HttpClient client = HttpClient.newBuilder()
                 .proxy(HttpClient
                         .ProxySelector
                         // Use a custom proxy
                         //.of(URI.create("http://YOUR_API_KEY:proxy=http:CUSTOM_PROXY:8080 at proxy.cloudbypass.com:1087")))
                         .of(URI.create("http://YOUR_API_KEY:@proxy.cloudbypass.com:1087")))
                 .build();
         HttpRequest request = HttpRequest.newBuilder()
                 .uri(URI.create(url))
                 .GET()
                 .build();

         HttpResponse response = client.send(request, HttpResponse.BodyHandlers.ofString());
         System.out.println(response.body());
     }
}
Detailed documentation
Create a Cloudbypass API account — Sign Up
Create a Cloudbypass Proxy account — Sign Up
One account unlocks API and proxy access. Log in within 30 days and click the 🎁 Trial Activity to claim free credits and traffic.
Enter your target URL in the Code Generator to test Cloudflare challenge handling.
V1 includes rotating IPs — no proxy setup needed if accessible.
V2 requires a fixed or time-based IP. When using Cloudbypass rotating IPs, set duration ≥ 10 minutes.
See the API docs or contact support.
Add the Cloudbypass API to your app, test, and deploy to production.
Pick a plan for your usage — View Pricing
For Cloudflare JS Challenge, use a Points Plan.
For traffic, choose Rotating Datacenter or Rotating Residential.
Cloudflare handling uses points and may need proxy support. A proxy alone cannot handle Cloudflare.


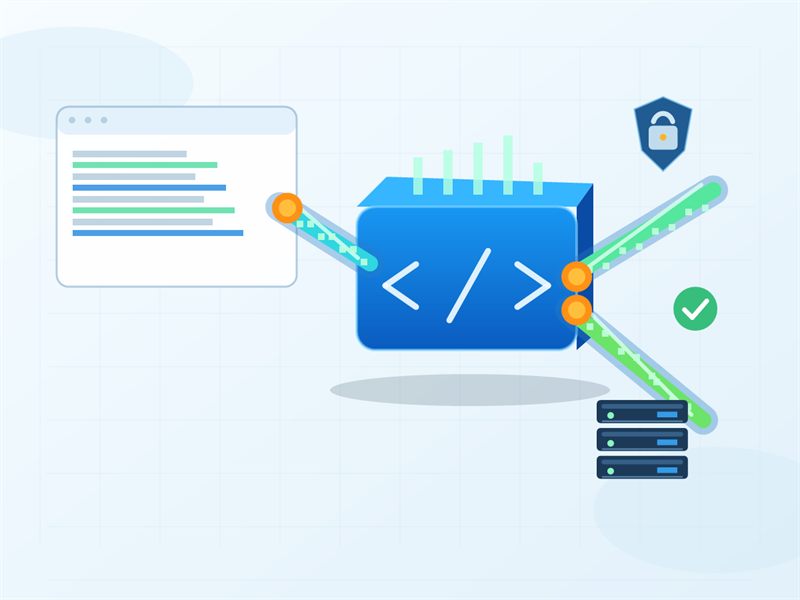
Cloudbypass API is built for tough anti-bot verification. It supports compliant access through Cloudflare JS Challenge, Turnstile CAPTCHA, and browser check flows. With protocol-level JavaScript rendering, your automated access stays steady and maintains a high success rate under strict risk controls.
Auto-solves complex challenges and matches real browser behavior.
Decrypts and formats responses so you get structured data faster.
Customize Referer and headers to fit the target verification flow.
Send business data via JSON payloads or form parameters.
Handle URL query parameters for search, paging, and filtering.
Use external proxy IP and rotating IP pools for geo-matching access.
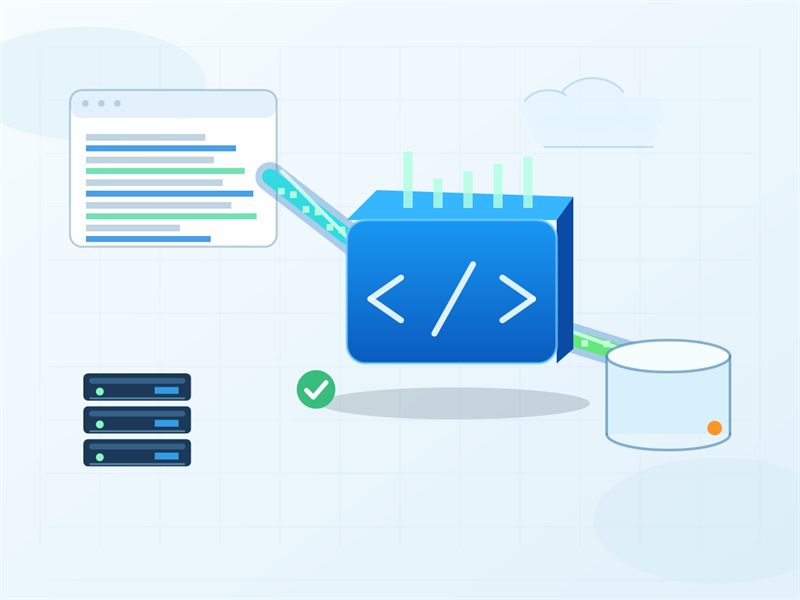
Cloudbypass API offers a standard HTTP API endpoint plus a built-in Proxy mode, compatible with most programming languages. Add it in a few lines to support web scraping or automated access, while cutting Web Application Firewall (WAF) engineering and upkeep.
Test with native cURL in one command to verify Cloudflare challenge handling, with minimal setup.
Works with requests and aiohttp for async high concurrency—ideal for data extraction teams.
Leverages Go concurrency with fast, type-safe APIs for large-scale scraping workloads.
Fits full-stack apps and automation tools, enabling fast request routing in services or scripts.
Built for enterprise standards, supports multithreaded calls for steady access in complex flows.
Includes full type definitions to improve reliability across modern web scraping pipelines.


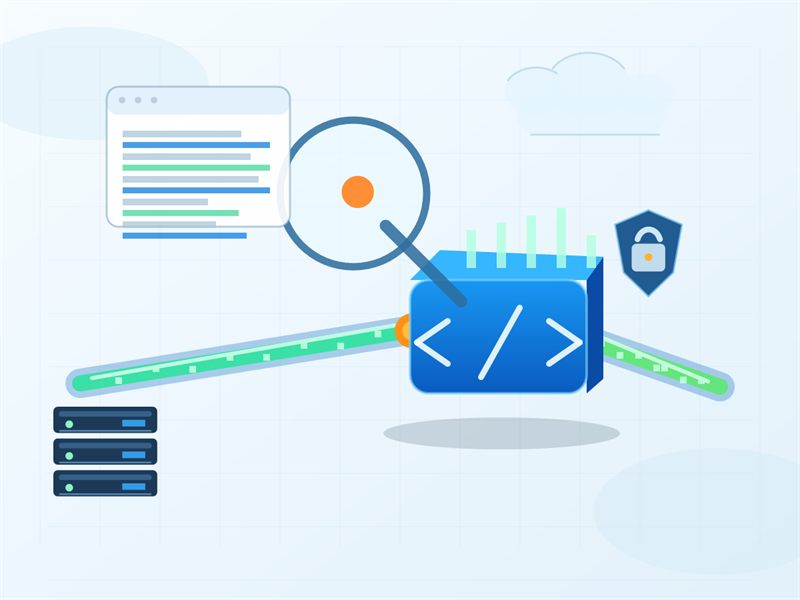
Cloudbypass API goes beyond basic access automation. It simulates browser fingerprinting signals—TLS fingerprints, hardware acceleration traits, and behavior patterns—so every request looks like a real user and reduces anti-bot linkage blocks.
Syncs updates fast and supports protocol-level handling for new bot checks.
Supports JS Challenge and tough Cloudflare Turnstile for web scraping tasks.
Mimics traffic source paths for sites with strict origin validation.
Large real-device UA pool for desktop and mobile, with easy switching.
Works with Web Application Firewall (WAF) and CDN protection layers, including Imperva and Akamai.
Protocol-level headless browser simulation with JavaScript rendering efficiency for faster data extraction.
Compared with heavy Selenium/Puppeteer setups, Cloudbypass API uses a protocol-based request mode with no real browser instance. This keeps server usage low while supporting high concurrency across OS and cloud environments.
Fits Windows workflows for local debugging and fast delivery of small-to-mid data extraction jobs.
Works smoothly on Apple Silicon, making scripting, testing, and iteration faster for developers.
Optimized for mainstream Linux, with Docker deployments and horizontal cluster scaling.
Meets enterprise stability needs and runs long-term in traditional IDC environments.
Supports mobile protocol forwarding for iOS testing and mobile data extraction access.
Fits Android API calls and helps automated access pass cloud firewall checks reliably.


|
|
Covers marketplaces and DTC websites. Track new listings, benchmark competitors, monitor pricing and promotions, and analyze review and demand trends—helping teams react faster and optimize product and pricing decisions. |

|
|
Built for growth and performance teams. Continuously track competitor ad creatives, landing page changes, and keyword trends—turning signals into reusable insights for strategy reviews and campaign optimization. |

|
|
Capture feeds and engagement signals across social platforms. Track trends, analyze topics, shortlist creators, and monitor sentiment—so teams can identify what’s working and scale content more efficiently. |

|
|
Designed for asset archiving and creative reuse. Organize video and image libraries with tags, track performance signals, and build a searchable reference hub—speeding up production and improving consistency. |

|
|
Aggregate updates from news and content platforms. Track breaking events, build topic collections, and sync chapters/releases—creating structured content assets for recommendations, operations, and research. |

|
|
Cover stocks, indices, FX rates, commodities, and crypto markets. Collect real-time and historical prices, candlestick indicators, and event/news signals—supporting backtests, alerts, and quant workflows. |

|
|
Collect job listings and hiring signals across platforms and company sites. Track demand, skills, and salary movements—supporting recruiting planning, workforce insights, and industry research. |

|
|
Consolidate listings and local service data for market monitoring and location analysis. Track supply, demand, and pricing shifts—helping teams make faster, more confident decisions in local operations. |

|
|
Built for travel services and industry analysts. Track flights, hotels, ticketing, and visa rules in one place—even when prices and policies change frequently—so your data stays reliable for planning and decisions. |

|
|
Collect coupon and promotion data across channels. Track promo trends, evaluate offer effectiveness, and analyze post-discount pricing—helping teams run cleaner retrospectives and improve conversion performance. |

|
|
Track ocean routes and schedules, port milestones, container movements, and freight surcharges. Enable shipment visibility and exception alerts—so teams can forecast costs and delivery performance with confidence. |

|
|
Built for fraud prevention and security operations. Aggregate risk IPs/domains, abnormal behavior signals, and reputation intelligence—powering faster assessments, automated alerts, and stronger protection boundaries. |
Each successful API request consumes credits, while failed requests do not deduct any credits.
V1: Each successful request consumes 1 credit.
V2: Each successful request consumes 3 credits. One credit is used for the API request itself, and two additional credits are consumed during JavaScript polling.
The session remains valid for 10 minutes. During this period, the same proxy and session parameters can be reused to avoid repeated Cloudflare verification.
This means no additional credits are charged for subsequent requests within the same session window.
Cloudbypass API credits expire if not used within their validity period.
Each recharge is calculated independently, and credits are consumed on a first-in, first-out basis.
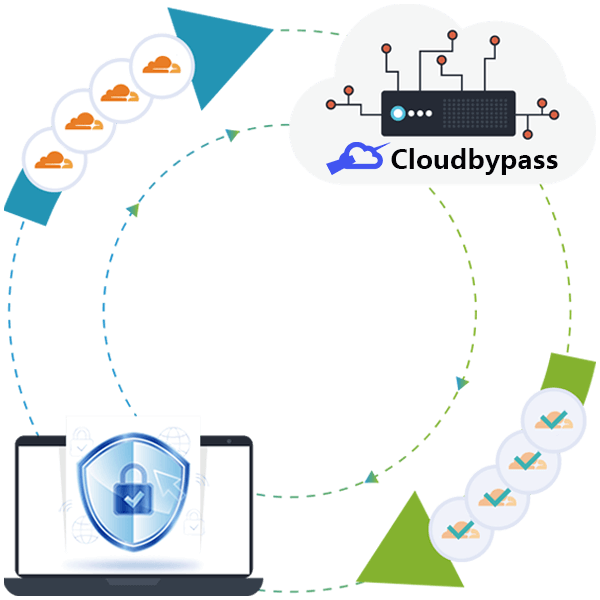
Cloudbypass operates as a request-forwarding service. You submit an HTTP request to the Cloudbypass API, and the API executes the request on your behalf. This approach significantly reduces the likelihood of your traffic being identified as automated. The system focuses on preventing Cloudflare challenges from being triggered, allowing direct access to the target URL instead of programmatically interacting with challenge pages.
The Cloudbypass API is designed to be simple and developer-friendly.
You only need to submit the HTTP request intended for the target website, and Cloudbypass will forward it exactly as provided.
You can use the online code generator to generate request examples in cURL, JavaScript, TypeScript, Java, Python, and more.
Cloudbypass API and Proxy integration examples are available here:
View code examples
Cloudbypass V2 supports JavaScript rendering and polling, making it suitable for more advanced Cloudflare challenges.
V2 does not include a default proxy. You must use a Cloudbypass Proxy with V2.
V1 includes a built-in rotating proxy by default.
Session partitions are used to manage Cloudflare cookies and verified sessions.
Once a session is successfully verified, the proxy IP, browser fingerprint, and related parameters must remain unchanged for 10 minutes.
This prevents additional Cloudflare challenges from being triggered during the session.
Session partition values range from 0 to 999, allowing up to 1,000 concurrent session partitions per account.
After a successful request, the proxy IP is locked to the session partition.
Changing the partition value allows you to switch proxies.
Each successful request refreshes the 10-minute session duration.
Start by testing your target URL using the
code generator with Cloudbypass V1.
If V1 fails, switch to Cloudbypass V2 and configure your own proxy IP.
A test proxy is available in the backend for validation.
It is recommended to set the proxy extraction duration to more than 10 minutes.
All Cloudbypass API plans currently support up to 30 concurrent requests per second.
This error indicates that your Cloudbypass API account has no remaining credits.
You can purchase credits in the Cloudbypass API console:
Cloudbypass API Console,
or contact customer support to request test credits.
Error description:
This error occurs when the current session partition is already processing a Cloudflare challenge.
Common causes:
The same session partition is used concurrently by multiple threads.
Multiple users are operating on the same account and partition.
A previous request is still holding the verification lock.
Recommended solutions:
Wait for the lock to be released and retry the request.
Switch to a different session partition (range: 0–999).
Recommended actions:
1. Set the proxy IP extraction duration to at least 10 minutes.
2. Switch to proxy IPs from different countries or regions.
Using IPs from the same region repeatedly may increase the risk of restriction.
These errors usually indicate that a proxy is required. You can use either API mode or Proxy mode to access Cloudbypass services. API mode is recommended for domestic users. Currently, only HTTP proxies are supported.
Browser automation tools such as Selenium and Puppeteer are not supported. Cloudbypass operates at the HTTP request level and simulates browser requests without launching a real browser.
Cloudbypass does not use monthly subscriptions. All Cloudbypass Proxy services follow a traffic-based pricing model with no expiration. You can purchase traffic packages on demand, and unused bandwidth will never expire.
Cloudbypass Proxy supports multiple payment methods, including Alipay, USDT, and other supported options depending on your region.
For Cloudbypass Rotating Proxies, traffic usage is calculated based on the total volume of uploaded and downloaded data through the proxy connection.
IP geolocation results may vary depending on the detection database used. Please verify the proxy IP location using the official Cloudbypass IP check tool: http://ipinfo.cloudbypass.com .
Cloudbypass offers two core proxy networks: Rotating Residential Proxies and Rotating Datacenter Proxies. Both proxy types are designed for Cloudflare bypass scenarios and can be managed from a single unified platform.
Cloudbypass Proxy currently supports both HTTP and SOCKS5 proxy protocols, ensuring compatibility with most scraping tools, browsers, and automation frameworks.
Cloudbypass Proxy uses a traffic-based billing model for both rotating residential and datacenter proxies. All traffic packages do not expire. You may request a free trial to evaluate Cloudflare bypass performance before purchasing.
Direct connections from mainland China IP addresses are not supported.
To use Cloudbypass Proxy services, you must deploy a global network environment, such as a server or VPS located in Hong Kong or other overseas regions.
Desktop users may connect via a global network accelerator, while mobile users can access through a router configured with a global network environment.
If you are unable to set up a compatible global network environment, please do not proceed with a purchase.
Refunds are not available for unsupported direct connections.

Cloudbypass API significantly improved our data extraction efficiency, especially for websites protected by Cloudflare. The API is straightforward, easy to integrate, and saved us countless hours dealing with anti-bot restrictions.
Since adopting Cloudbypass API, bypassing Cloudflare challenges has become effortless. It handles captchas reliably and allows uninterrupted access to the data pipelines we depend on.
Cloudbypass simplified our web data collection workflow by automatically handling complex Cloudflare verifications. It’s fast, stable, and extremely reliable in production environments.
As a market analyst working with large-scale web sources, avoiding 403 errors is critical. Cloudbypass API ensures consistent access to protected pages and delivers clean, usable data.
Cloudbypass makes bypassing Cloudflare protection simple. The documentation is clear, the API behavior is predictable, and integration was completed in minutes. Highly recommended for developers.
I was initially skeptical, but Cloudbypass exceeded expectations. It consistently bypasses Cloudflare human verification and has become a core component of our data infrastructure.

Bottom line: Direct fetch, Cloudbypass API, and browser automation solve different retrieval problems. The right choice ...
Bottom line: Direct fetch, Cloudbypass API, and browser automation solve different retrieval problems. The right choice ...
Bottom line: Direct fetch, Cloudbypass API, and browser automation solve different retrieval problems. The right choice ...
Bottom line: Direct fetch, Cloudbypass API, and browser automation solve different retrieval problems. The right choice ...
Bottom line: Direct fetch, Cloudbypass API, and browser automation solve different retrieval problems. The right choice ...
Bottom line: Direct fetch, Cloudbypass API, and browser automation solve different retrieval problems. The right choice ...